
Last updated November 4, 2026
 Wood & steel frame
 Wrought iron
 Farm & ranch
 Sliding driveway gates
 LiftMaster operators
Free on-site gate assessment - hinges, posts, and your LiftMaster or Nice gate operator checked before anything is quoted
The assessment is free and the quote is the invoice.
Get your free estimateGate Repair Troubleshooting in Lakewood: Common Problems and How to Fix Them
A gate that won’t open and a gate that opens halfway are two completely different problems. Most homeowners in Lakewood treat them the same way, which is why the wrong part gets replaced first and the real fault keeps coming back. This guide is built the way a specialist actually thinks. We’ll walk through the four failure categories that cover almost every gate issue, show you how to read the symptoms before you touch anything, and tell you which resets are safe to try and which ones are better left to a technician.
Quick Answer
Most gate failures in Lakewood fall into one of four categories: mechanical wear, electrical failure, sensor misalignment, or operator malfunction. The fix starts with a simple three-step check that separates a dead operator from a tripped sensor from a physical obstruction. If your gate beeps but won’t move, the operator is usually getting power and the problem is mechanical or sensor-related. If it’s silent, suspect the power supply, control board, or a blown fuse.
Styles & brands we work with
- Wrought iron
- Wood & steel frame
- Farm & ranch
- Sliding driveway gates
- LiftMaster operators
Table of Contents
- The Four Failure Categories Every Gate Problem Fits Into
- The 3-Step Test That Separates a Dead Operator From a Tripped Sensor
- “Beeps But Won’t Move” vs. “Moves But Won’t Latch”: What Each Symptom Means
- Why Lakewood’s Humidity Accelerates Gate Corrosion (and What It Looks Like)
- Safe DIY Resets vs. Resets That Create Hazards or Void Warranties
- How to Document Gate Symptoms for an Accurate Phone Estimate
- Electric Gate Safety: What a Specialist Checks Before Anything Else
The Four Failure Categories Every Gate Problem Fits Into
After years of working exclusively on gates, we’ve found that nearly every service call in Lakewood traces back to one of four categories. Naming the category before you pick up the phone changes the conversation. Instead of describing a vague “broken gate,” you can tell the dispatcher exactly what kind of failure you’re looking at, which gets you a better estimate and often a faster fix.
The four categories are:
- Mechanical: hinges, wheels, track, chain, or the gate’s physical structure. These problems build gradually. You’ll hear grinding, see the gate lean, or feel resistance when you push it manually.
- Electrical: the power supply, wiring, transformer, or a blown circuit. The gate may be totally unresponsive, or it may work intermittently. Electrical faults often show up after a storm or a power outage.
- Sensor: the safety sensors and photo eyes that stop the gate from closing on a car, child, or pet. When these misalign or get dirty, the gate refuses to move even though the operator and motor are fine.
- Operator: the motor, control board, limit switches, and the logic that tells the gate when to start, stop, and reverse. Operator failures can mimic every other category, which is why they’re the hardest for a generalist to diagnose correctly.
Here’s the practical point. A mechanical hinge problem ignored for six months becomes an operator failure, because the motor burns itself out pushing against a gate that no longer swings freely. Reading your gate this way doesn’t just save you a service call. It tells you whether you’re looking at a $200 adjustment or a $1,500 operator replacement before anyone shows up.
If you’re not sure which category you’re in, the gate repair process at Waverly Gate Repair starts with exactly this diagnostic approach. We identify the failure category first, then quote the fix. No guessing, no replacing parts on a hunch.
The 3-Step Test That Separates a Dead Operator From a Tripped Sensor
The most useful skill a Lakewood homeowner can learn is the three-step test that narrows the problem before any hardware gets touched. It takes about five minutes and works on almost every automatic gate, whether it’s a Mighty Mule on a residential driveway or a LiftMaster on a commercial property.
Here’s the test in order:
- Check the power and operator lights first. Look at the operator’s indicator light or display. If it’s completely dark, you have an electrical problem: a tripped breaker, a disconnected power cord, a failed transformer, or a blown control board fuse. If the light is on or blinking, power is reaching the operator and you can move to step two.
- Try the manual release. Every automatic gate has a manual release mechanism, usually a key or a pull handle on the operator. Disengage it and push the gate by hand. If the gate moves smoothly and freely, the mechanical side is fine and the problem is in the operator or sensors. If the gate is heavy, sticking, or won’t budge, you have a mechanical problem: a hinge, wheel, or track issue.
- Check the safety sensors. Look at the photo eyes on either side of the gate opening. If one or both are knocked out of alignment, covered in dirt, or blocked by a plant, the gate will refuse to move. Most sensors have a small alignment light. Both lights should be solid. If one is blinking or off, that’s your culprit.
This sequence matters because it forces you to rule out the cheap, simple causes before you assume the expensive one. A tripped breaker costs nothing to fix. A dirty photo eye takes thirty seconds. A gate that has been grinding for three months and finally stopped, though? That’s a mechanical failure that took out the operator, and no reset is going to bring it back.
In our experience, maybe a third of the calls we take in Lakewood resolve during this test, either because the homeowner finds the problem or because they can describe it precisely enough for us to give a phone estimate. Either way, you’re not paying for a technician to come flip a breaker for you.
“Beeps But Won’t Move” vs. “Moves But Won’t Latch”: What Each Symptom Means
Most people describe a broken gate as simply “broken.” A technician hears two very different problems. The gate that beeps but won’t move is one failure. The gate that moves but won’t latch is another. Knowing the difference gets you halfway to the correct diagnosis before anyone arrives.
A gate that beeps but won’t move is telling you the operator has power and the control board is alive, but something is telling it not to run. The usual causes in Lakewood, in order of frequency:
- Misaligned or blocked safety sensors. The operator thinks something is in the gate’s path and refuses to run. Check the photo eye alignment lights.
- Tripped obstruction sensor. If the gate hit resistance recently, the operator’s force settings may be too low or the gate may have triggered a fault condition that needs a reset.
- Limit switch failure. The operator doesn’t know where the gate is in its travel, so it locks out rather than run blind.
- Capacitor failure. The motor hums or the board clicks, but the starting capacitor that gives the motor its initial jolt is dead. This is common on older single-phase operators.
A gate that moves but won’t latch is usually mechanical rather than electronic. The gate travels, but it doesn’t close fully, doesn’t line up with the latch, or closes and bounces back open. The causes we see most often around Lakewood:
- Sagging gate leaf. The hinges have worn or the gate has settled, so the latch no longer lines up. This is a gradual problem that gets worse over months.
- Worn or misaligned latch mechanism. The latch itself is bent, dirty, or the strike has shifted. Sometimes a simple adjustment fixes it. Sometimes the latch needs replacement.
- Operator travel limits drifted. The gate closes, but the operator’s limit switch cuts off too early or too late, leaving the gate partially open or pushing past the latch point.
- Ground settling. Lakewood’s soil shifts with moisture and dry spells, and a gate post that has moved even half an inch can throw off the latch entirely.
The practical takeaway: a beeping gate points you toward the operator and sensors. A latching problem points you toward the hinges, gate weight, and limit switches. Describe the symptom in those terms when you call and you’ll get a more accurate response.
Why Lakewood’s Humidity Accelerates Gate Corrosion (and What It Looks Like)
Lakewood sits close enough to the coast that moisture in the air is a year-round reality. It’s not the salty, aggressive corrosion you see right at the beach, but it’s enough humidity to cause real problems for gate hardware over time. We see the same patterns repeat across Lakewood neighborhoods: hinge pins that seize, control boards that develop green corrosion on their terminals, and chains that gum up with rust and dust mixed into a paste.
What does humidity-driven corrosion actually look like on a gate?
- Orange-brown dust around hinge pins and brackets. The metal is oxidizing. Left too long, the hinge seizes and the gate starts to bind, which burns out the operator motor.
- Green or white deposits on control board terminals and wire connections. This is corrosion on copper and solder joints. It creates resistance in the circuit, which causes intermittent failures: the gate works sometimes, then refuses for no obvious reason.
- A stiff, crunchy feeling when you push the gate manually. That’s corrosion inside the hinge or the wheel bearings. A properly maintained gate swings smoothly with one hand.
- Blistered or bubbling paint with rust underneath. Especially around welds, bolt holes, and the bottom rail of the gate. This is the earliest visible warning that water is getting into the metal.
Here’s the thing about corrosion on a gate: it never gets better on its own. Unlike a misaligned sensor that you can clean off, corrosion is progressive. A stiff hinge puts more load on the operator motor. A corroded control board draws more current and runs hotter. The failure may not happen today, but it is coming.
If you catch it early, a technician can clean and lubricate hinges, replace corroded terminals, and apply corrosion protection to the board. If you wait until the gate stops moving, the repair is usually more involved. That’s the humidity tax that Lakewood homeowners pay, and the reason an annual visual check on your gate hardware is worth more here than it would be in a dry inland city.
Safe DIY Resets vs. Resets That Create Hazards or Void Warranties
There is a line between what a homeowner can safely do and what should be left to a trained technician. Crossing that line doesn’t just risk tearing up your gate. In some cases it voids the manufacturer’s warranty on your operator, and in a few it creates a genuine safety hazard.
Here are the safe resets and checks you can do yourself:
- Manual release and reconnect. Every operator has a way to disengage the motor and push the gate manually. Disengaging and re-engaging it is safe and often clears a temporary fault. Just make sure the gate is closed before you re-engage.
- Photo eye cleaning and realignment. Wipe the sensor lenses with a dry cloth and make sure both units point at each other with no branches, decorations, or debris in the path. If the alignment lights return to solid green, you’ve fixed it.
- Breaker check. Locate the circuit that powers the gate and confirm it hasn’t tripped. If it trips again immediately, stop and call a technician: that’s a short, not a coincidence.
- Force adjustment (minor). Many residential operators have a force or sensitivity dial on the control board. If the gate reverses before it closes fully, a small increase in force can help. But make the change in small increments, and test the gate’s safety reversal each time by placing an object in the path.
Here are the checks and resets that are not safe DIY work:
- Opening the operator housing and working on the control board. The capacitors inside an electric gate operator retain a charge even when the power is off. A wrong move can deliver a serious shock. This is also where warranty coverage gets voided if the board is damaged by someone without the proper training.
- Adjusting limit switches without understanding the operator’s logic. A limit switch set wrong can make the gate travel past its intended stop, which can damage the gate, pull wires loose, or create a crushing hazard at the end of travel.
- Re-tensioning a chain or belt on an overweight gate. If the chain has stretched because the gate itself is too heavy or dragging, tightening it only masks the real problem and puts more strain on the motor.
- Working on a slide gate that has come off its track. Slide gates are heavy. The force involved in getting one back on track can cause serious injury if done wrong, and an off-track gate is often a sign of a damaged roller or a bent track, not just a slip.
The rule we give Lakewood homeowners: if the fix involves opening the operator, touching the board, or forcing a heavy component back into place, stop and call us. The estimate is free, and seeing the gate before you work on it beats voiding a warranty or hurting yourself.
How to Document Gate Symptoms for an Accurate Phone Estimate
Here’s the scenario. You call a gate company to describe a problem, and the person on the phone tells you they can’t give a price until a technician sees the gate. That is true for some problems, but it’s also a dodge some companies use to get a truck to your house before discussing money. You can reduce the guessing by documenting the right symptoms before you call.
Here’s the checklist we recommend:
- Note exactly when the gate stopped working. Was it sudden, or has it been getting worse for weeks? A sudden failure after a storm often points to electrical damage. A gradual decline points to mechanical wear.
- Describe what the gate does, not what it doesn’t do. Instead of “the gate doesn’t work,” say “the operator beeps three times, the gate moves about six inches, then stops and reverses.” That one sentence is more useful than a paragraph of general description.
- Check the operator’s lights or display. Note the color, whether it’s blinking, and how many times it blinks before pausing. Many operators flash an error code. The number of blinks is the fault code, and it tells us specifically what the board thinks is wrong.
- Test the manual release. Push the gate by hand and note whether it moves freely or feels heavy. That single observation separates mechanical from electronic problems and often lets us quote the repair over the phone.
- Have the brand and model visible. LiftMaster, FAAC, BFT, Mighty Mule, and the other major brands use different fault codes and have different common failure points. Knowing the brand narrows the diagnostic time dramatically.
- Take a short video. Film the gate attempting to open or close from about ten feet away, with the operator in view. A thirty-second clip tells us more than five minutes of verbal description. Most of our phone estimates become more accurate once we see a video.
The point of documenting symptoms is not to replace a site visit. It’s to give the company enough information to tell you the likely problem, the probable cost range, and whether the repair is urgent. In Lakewood, where many homes have automatic gates as the primary security line, a gate that won’t close is not a cosmetic issue. We treat it as a priority, and we want you to know what you’re facing before we arrive.
Electric Gate Safety: What a Specialist Checks Before Anything Else
Electric gate systems require a technician who understands both the mechanical and the electronics. That’s not a slogan. It’s the difference between a gate that works for a month and a gate that’s safe and reliable for years. Before we touch an operator, a chain, or a hinge on an electric gate repair job in Lakewood, we check the safety system. That’s the non-negotiable first step.
What does a safety check involve?
- Safety sensor function. We block the photo eyes and confirm the gate stops and reverses. We check the sensor height and alignment, because a sensor mounted too high misses small children and pets.
- Obstruction detection force. We test how much resistance the gate requires before it reverses. Too much force and the gate can crush. Too little and it reverses constantly for no reason. The setting has to be dialed in, not just left at factory default.
- Gate weight and balance. An electrically operated gate must be balanced so the motor isn’t doing the work the hinges and bearings should be doing. An overweight gate shortens the operator’s life and creates a pinch point at the hinge side.
- Manual release accessibility. In a power outage, you need to be able to get the gate open and closed manually. We check that the release mechanism is accessible, functional, and not seized from corrosion.
- Electrical connections and grounding. Loose connections and poor grounding cause intermittent failures and can damage the control board. We inspect the junction box, wire terminations, and the operator’s ground path.
An electric gate in Lakewood lives in a residential environment, often with kids, dogs, and delivery vehicles moving through the opening daily. The safety system is not optional. It’s the thing that prevents the gate from becoming a liability. We’d rather spend fifteen extra minutes verifying the safety reversal than tell you the gate works and leave a crush hazard in place.
Common Mistakes to Avoid
- Ignoring a noisy gate until it stops moving. A grinding hinge or squealing wheel is an early warning. Every month it runs like that, it’s loading the operator motor harder. By the time the gate stops, the repair is usually bigger and more expensive than the early fix would have been.
- Treating every failure as an electrical problem. In Lakewood, a surprising number of “dead” gates are actually mechanical. The operator is fine but the gate has jammed itself shut, or the hinges have seized, and the motor can’t push through it. Replacing the operator without fixing the mechanical issue burns out the new operator within a year.
- Adjusting the force setting instead of finding the obstruction. If the gate struggles and you just crank up the force dial, you’ve fixed the symptom and ignored the cause. Now you have a gate that pushes harder against whatever is binding it, which accelerates the wear.
- Skipping the visual check on safety sensors. A dirty or misaligned photo eye causes more “broken” gates than any other single issue. Five minutes with a cloth and a level fixes it. Skipping this check can mean paying for a service call that wasn’t needed.
- Opening the operator housing without disconnecting power. Even if the gate is unplugged, a charged capacitor inside can still deliver a dangerous shock. If the fix involves the board or wiring inside the housing, call someone who works on these systems daily.
- Describing the problem vaguely on the phone. “It’s just broken” doesn’t help us help you. The more specific you can be about what the gate does, sounds, and shows on its display, the more accurate your estimate will be before we ever see the gate.
- Waiting for the gate to fail completely before calling. Security gates are not like dishwashers. When a gate stops closing, your property is exposed. A gate that won’t open locks you out. Either condition deserves a same-day look in most cases.
See the difference
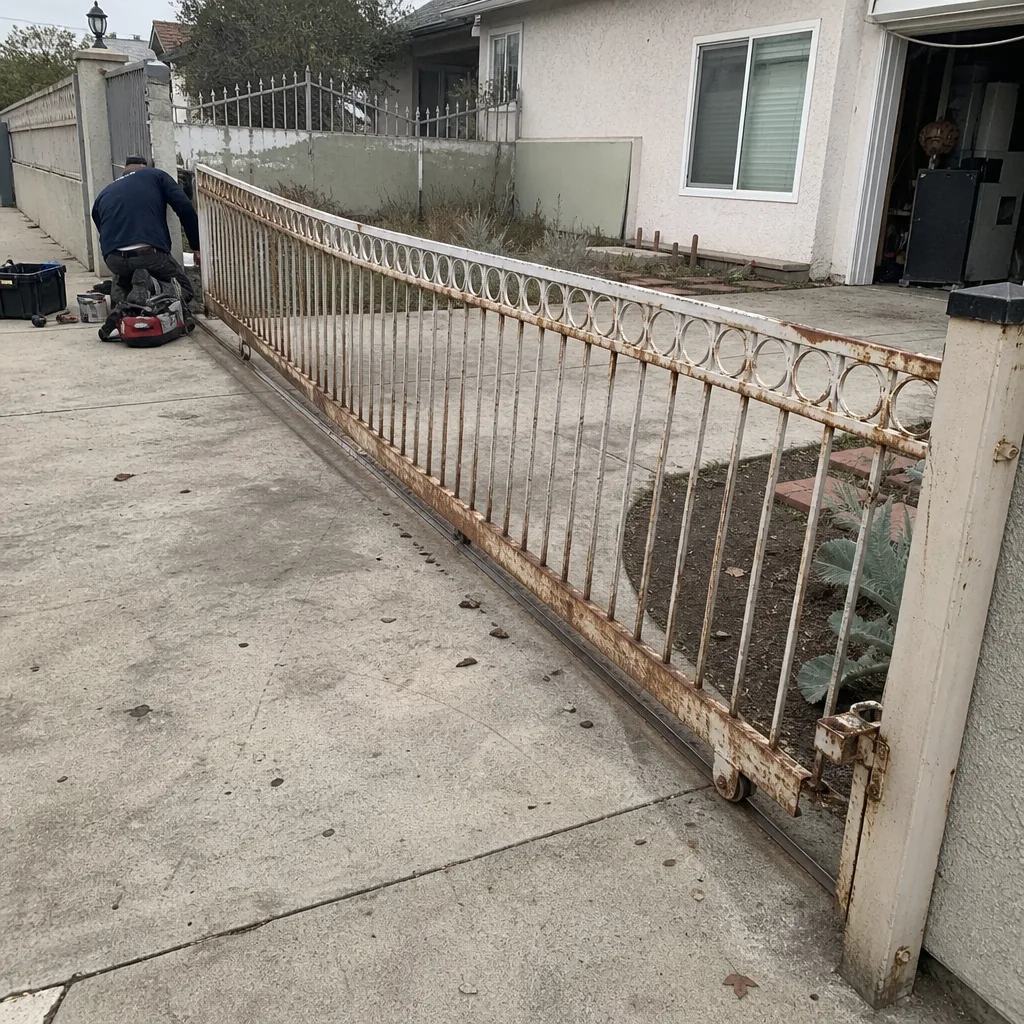 Before
 After
 Before
 After
 Before
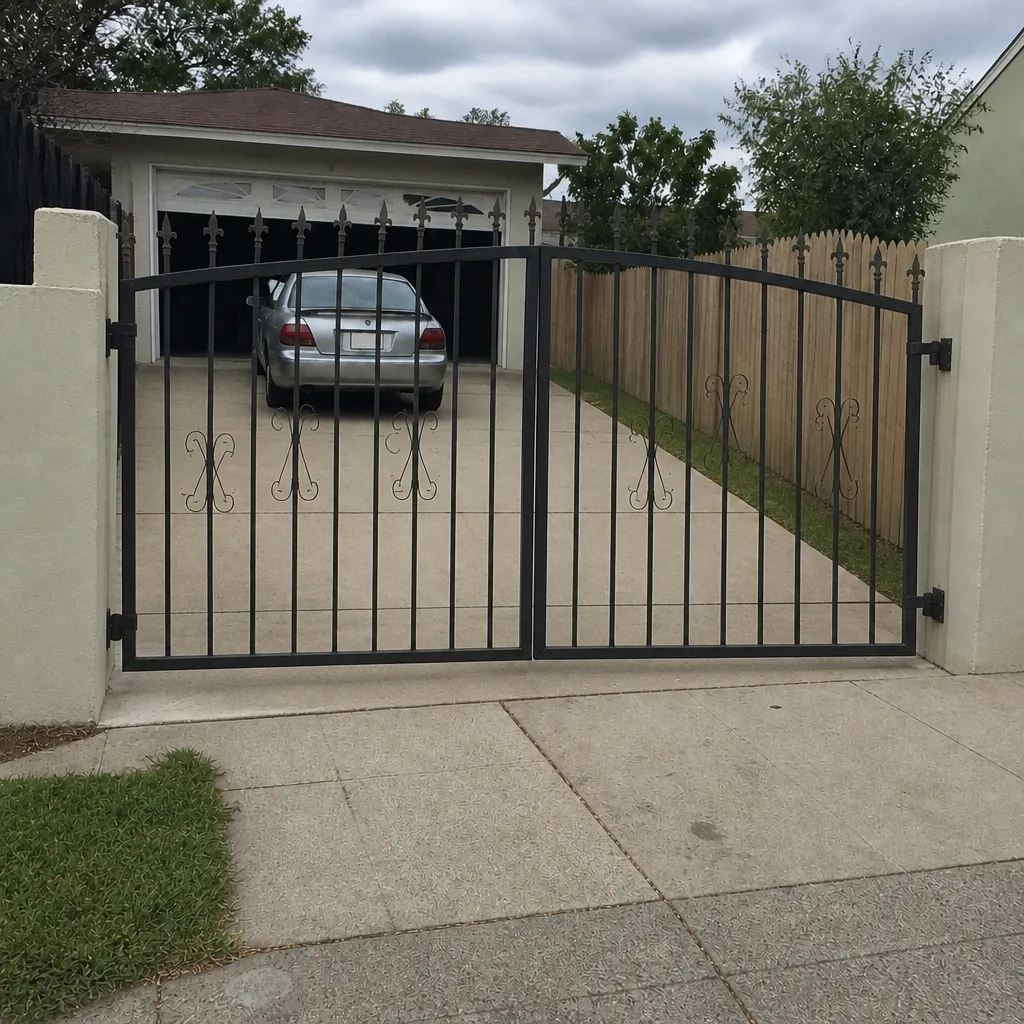 After
When to Call a Professional
Call a professional when the gate involves electricity and you’re not trained to work on it, when the gate is so heavy or off-track that forcing it could injure someone, when the operator is dead and the breaker is fine, or when the problem has persisted through the basic resets and checks. A gate that partially opens may be safe to leave open temporarily, but a gate that won’t close is a security problem and should be addressed the same day. Waverly Gate Repair offers free estimates in Lakewood. Call (866) 925-0168. We answer 24/7. Fast dispatch from 7am to 7pm, Sunday through Friday.
Frequently Asked Questions
The troubleshooting visit itself is free when you proceed with the repair, and the estimate is free either way. The cost of the repair depends on what the troubleshooting finds: a sensor realignment is a minor charge, while a control board replacement for a LiftMaster or FAAC operator runs higher. The written estimate sets the final price before any work starts. Call (866) 925-0168 to talk through your gate’s symptoms and we’ll give you as accurate a range as we can before scheduling.
In most cases, yes. We answer 24/7 and dispatch from 7am to 7pm, Sunday through Friday. Common failures like sensor misalignment, limit switch adjustment, and some mechanical fixes can often be completed the same day. A control board replacement may require ordering a part if it’s not in stock locally. Call (866) 925-0168 with your symptoms and we’ll tell you what to expect.
We work on what you already have. Our technicians have service experience across nine major gate and operator brands, including LiftMaster, FAAC, BFT, and Mighty Mule. You won’t hear us say we only service one brand. If your operator is repairable, we repair it. If the board is dead and the part is obsolete, we’ll talk through replacement options that fit your existing gate.
Every city has its own requirements, and Lakewood is no exception. Most repairs don’t trigger a permit, but replacing a gate or running new electrical for an operator sometimes does. Ask your city’s building department about permit requirements for your specific scope of work, and make sure any contractor you hire is properly licensed for the work they’re doing.
A gate that opens but won’t close is almost always a safety sensor problem. The photo eyes on either side of the opening are misaligned, dirty, or obstructed, so the operator thinks something is in the path and refuses to run the closing cycle. Check the alignment lights on both sensors. If one is blinking or dark, clean the lens and adjust the angle until both lights are solid. If that doesn’t resolve it, call (866) 925-0168 for a free estimate.
The answer depends on the operator’s age, the availability of parts, and the condition of the gate itself. A newer operator with a failed capacitor is a repair. A fifteen-year-old operator with a dead board and no available replacement board is a replacement conversation. We’ll give you an honest recommendation either way. We’d rather repair a gate that has years left in it than sell you something you don’t need.
The Bottom Line
Most gate problems in Lakewood are solvable, especially when they’re caught in the mechanical or sensor stage before they take out the operator. The skill is in reading the symptoms correctly: separate the power check from the manual push test from the sensor check, and you’ve already eliminated half the possibilities. If you get stuck, Waverly Gate Repair is a gate-only company with experience across nine major brands, and we’ll give you a straight answer over the phone before anyone shows up. Your gate, our only focus.
Written by the team at Waverly Gate Repair, serving Lakewood since 2013.