
Last updated November 4, 2026
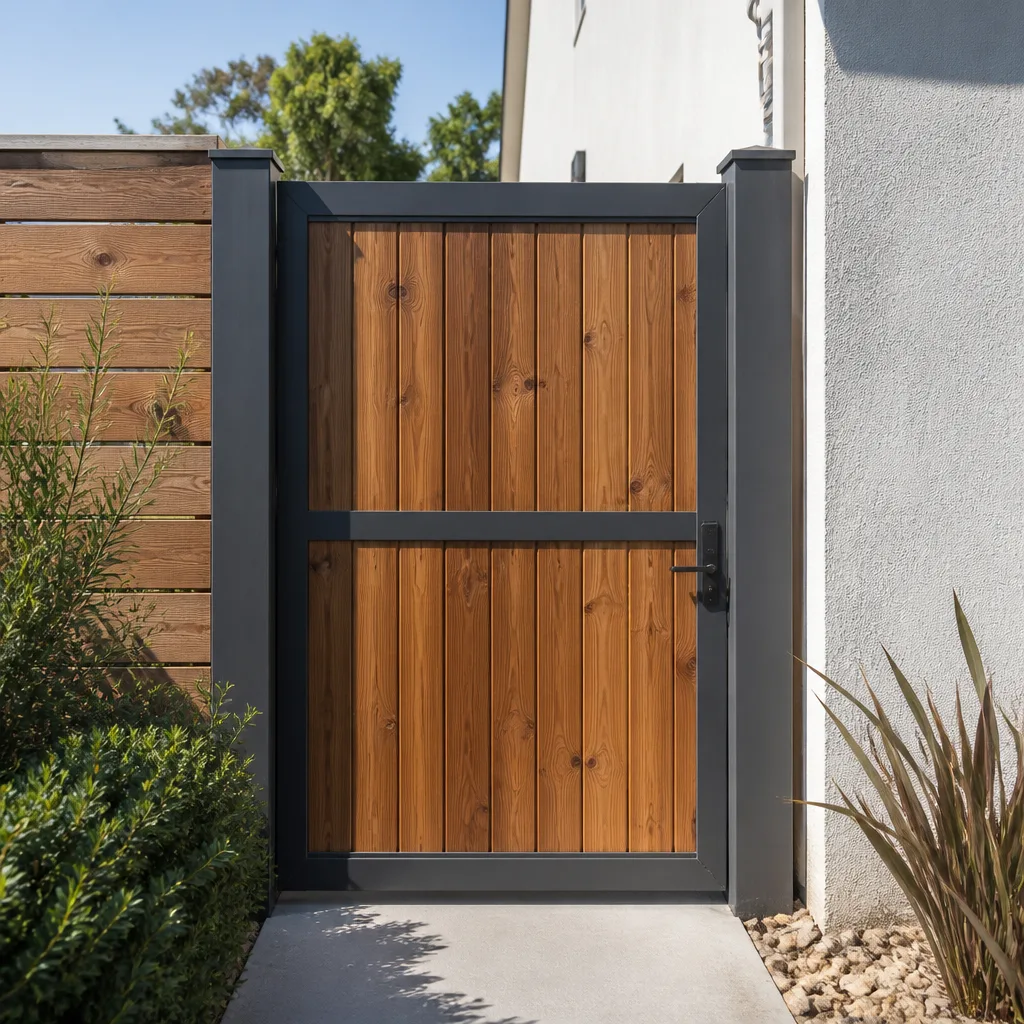 Wood & steel frame
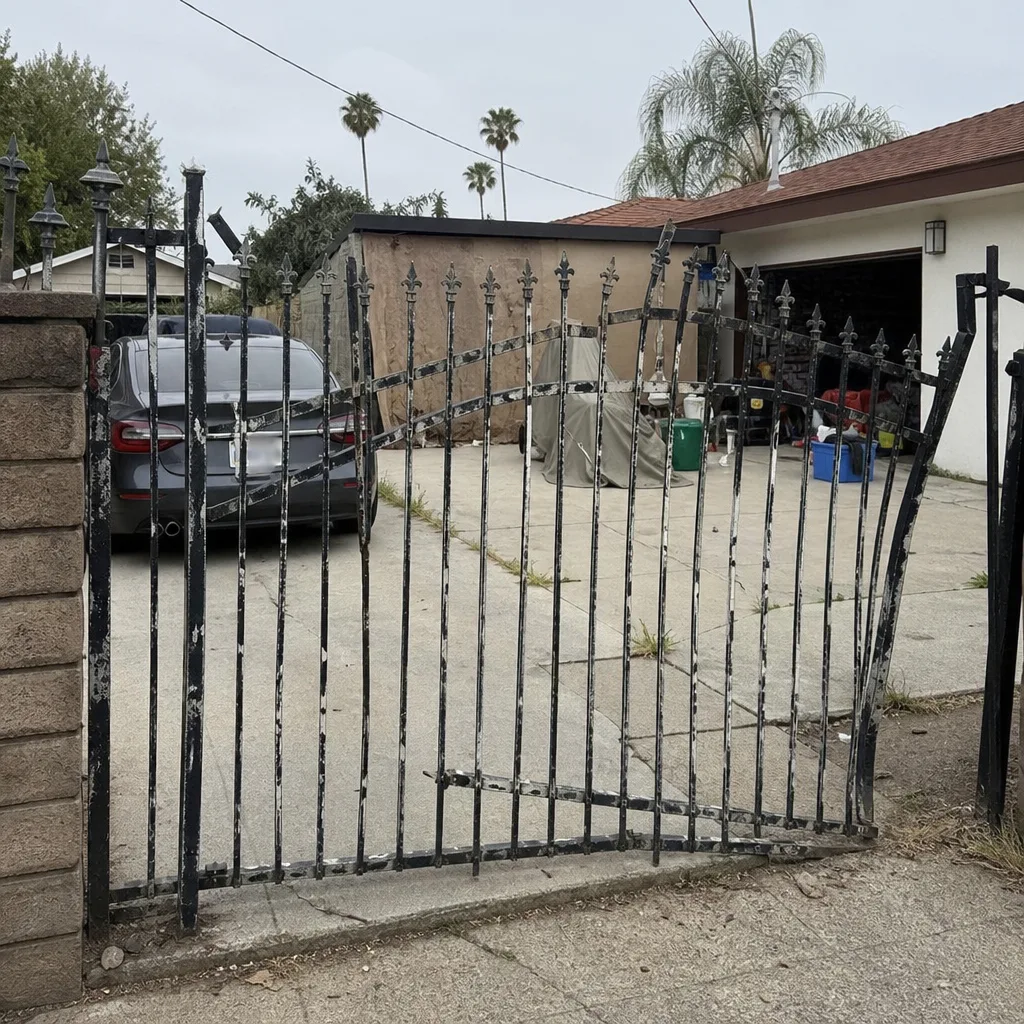
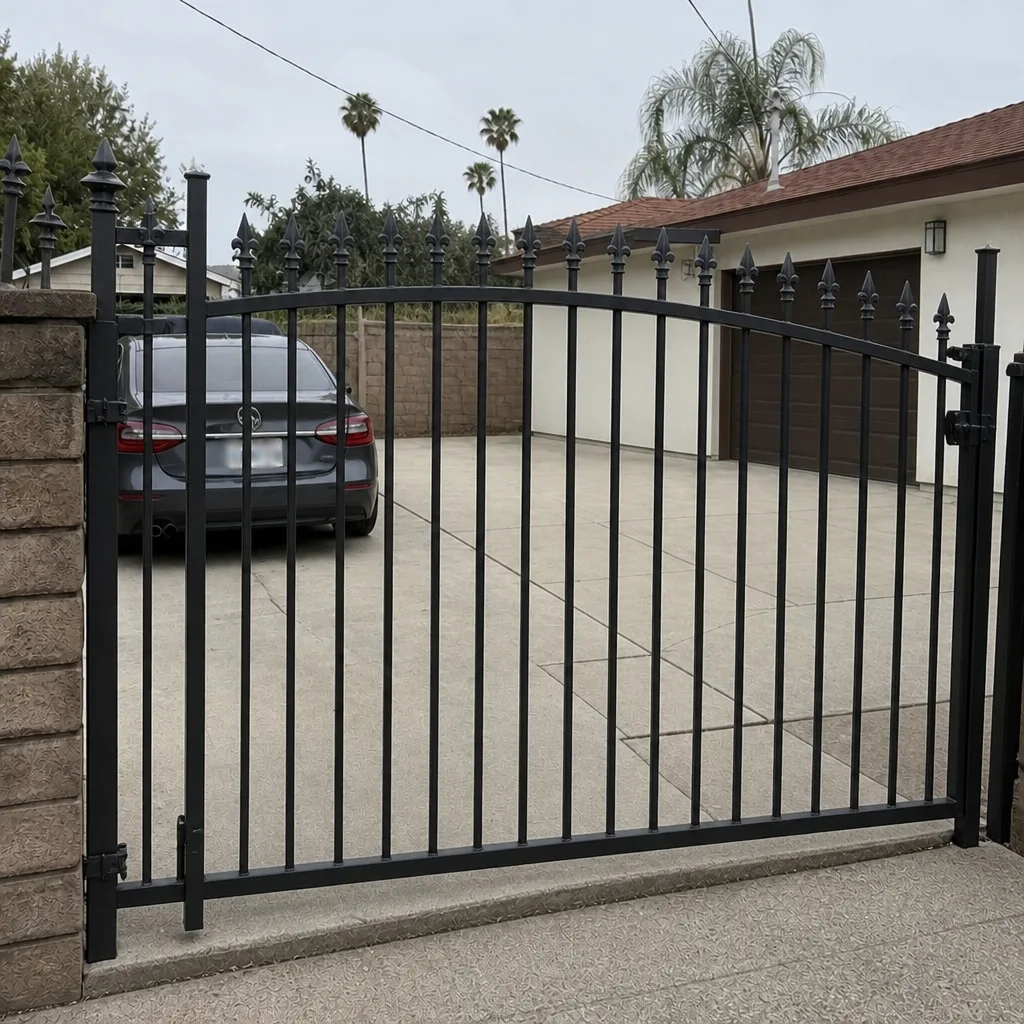
 Wrought iron
 Farm & ranch
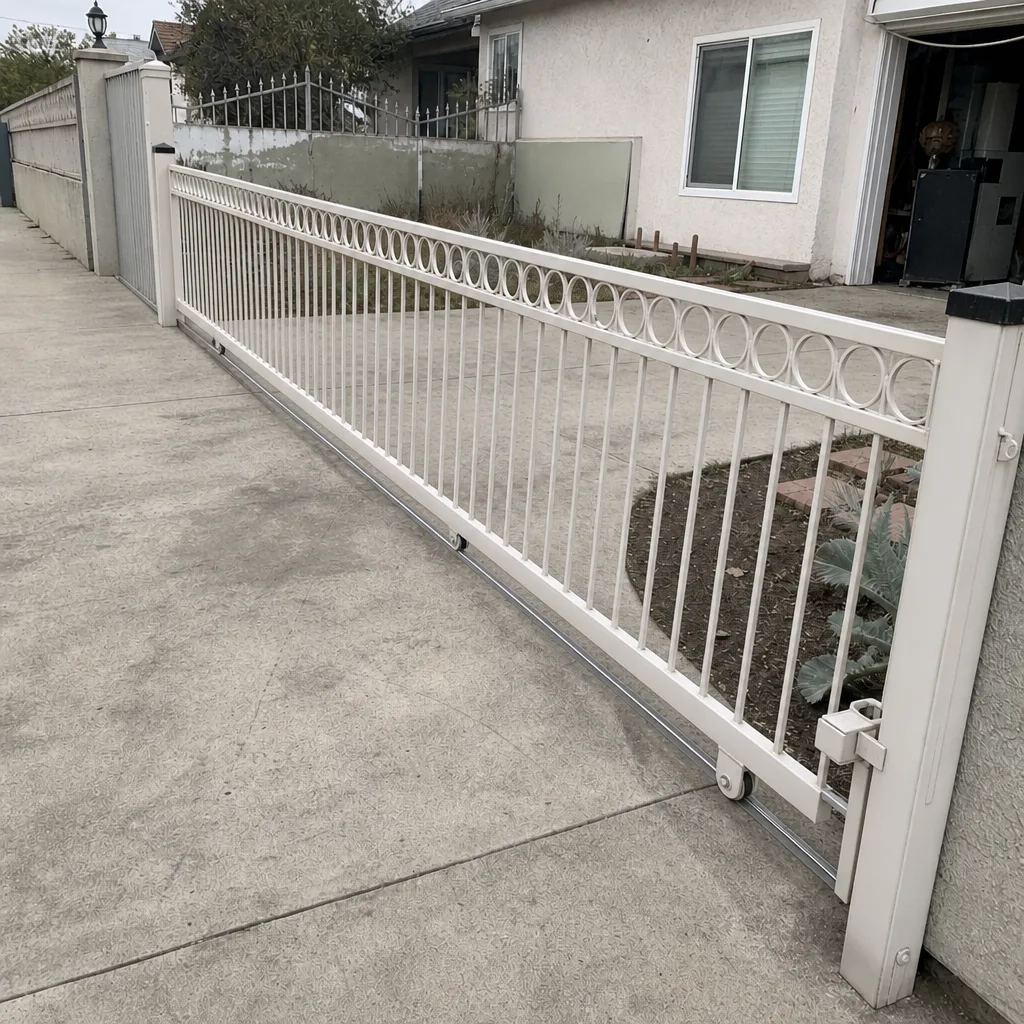
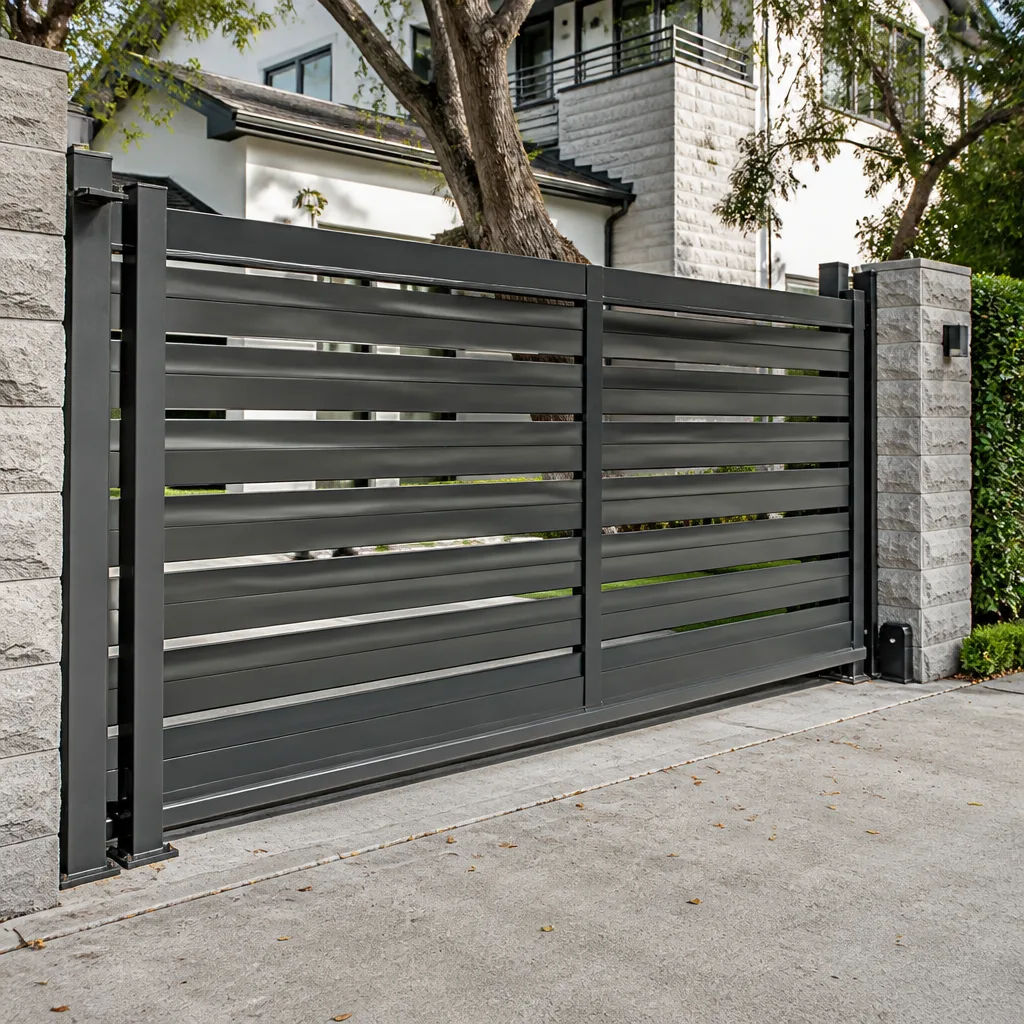 Sliding driveway gates
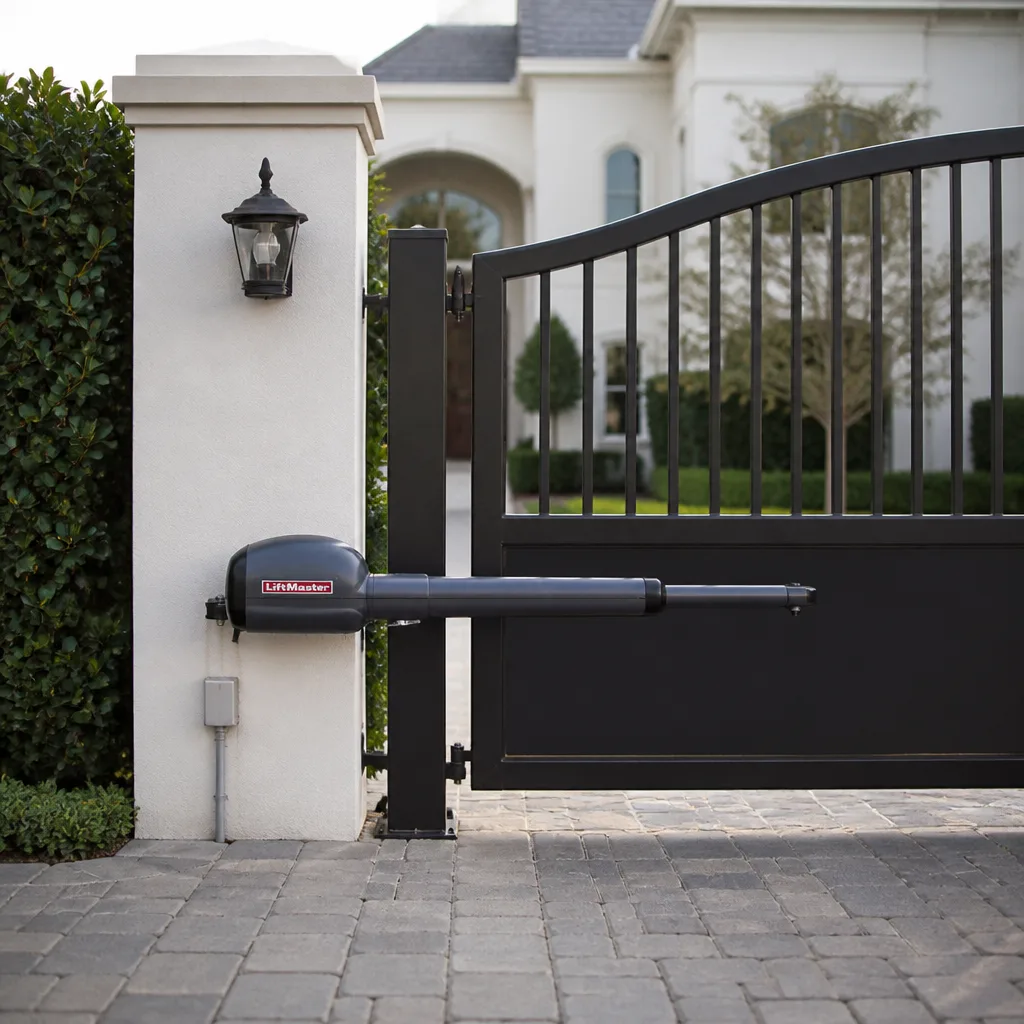 LiftMaster operators
Free on-site gate assessment - hinges, posts, and your LiftMaster or Nice gate operator checked before anything is quoted
The assessment is free and the quote is the invoice.
Get your free estimateGate Repair Maintenance Checklist for Lakewood Homeowners
Most gate maintenance advice treats every gate as if it were the same machine. A hollow steel driveway gate on a chain-drive operator has different failure points than a solid wood gate on an articulated arm. Lubricating the wrong part of a gate operator, a mistake common enough that technicians have a name for it, can void a manufacturer warranty and accelerate the failure it was meant to prevent. This guide from Waverly Gate Repair is structured by gate type, so every task on it actually applies to what you own in Lakewood. Skipping irrelevant steps is as important as doing the right ones.
Styles & brands we work with
- Wrought iron
- Wood & steel frame
- Farm & ranch
- Sliding driveway gates
- LiftMaster operators
Quick Answer
A gate maintenance checklist for Lakewood homeowners should be organized by gate type: manual swing gates need hinge and latch care, residential electric gates need operator and safety sensor checks, and commercial slide gates need track and loop detector inspection. Checking hinges, wheels, operators, and safety edges monthly, with deeper electrical and hardware inspections every quarter, prevents most failures before they strand you outside your driveway. We answer 24/7 at (866) 925-0168 if you find something that needs a professional eye.
Table of Contents
- Manual Gate Maintenance Checklist
- Residential Electric Gate Maintenance Checklist
- Commercial Access System Maintenance Checklist
- The Three Lubrication Points That Matter on a Chain-Drive Slide Gate
- How to Inspect a Control Board for Moisture Intrusion
- Battery Backup Testing Protocol
- Maintenance Frequency Table: Monthly, Quarterly, and Annual Tasks
- Common Mistakes to Avoid
- When to Call a Professional
- Frequently Asked Questions
- The Bottom Line
Manual Gate Maintenance Checklist
A manual gate has no motor, no control board, and no safety sensors. What it does have is weight, hinges, and a latch that takes the brunt of every opening and closing cycle. In Lakewood, where summers run hot and dry, the main enemies of a manual gate are metal fatigue, loose fasteners from repeated slamming, and wood expansion in the occasional wet winter. A manual gate in good shape should swing or slide with one hand and stay put when you let go.
Walk through this checklist every month on a manual gate:
- Lift the gate at the free end. Grab the latch side and lift upward. If you feel more than a quarter inch of vertical play, the hinge pins or post mounts are wearing. A gate that sags will eventually drag on the ground or refuse to latch.
- Swing the gate through its full arc. It should move without binding, scraping, or catching. Binding is usually a hinge out of alignment or a post that has shifted. In Lakewood soil, posts can settle over several dry seasons and throw a gate out of square.
- Check every hinge fastener. Use a wrench, not just your fingers. Bolts that look tight can be loose enough to allow movement. Tighten anything that moves.
- Examine the latch and strike plate. The latch should engage fully without you having to lift or slam the gate. A latch that only half-catches will fail, usually at the worst possible time.
- Look for rust at weld points. Surface rust is cosmetic, but rust at a weld or where a crossmember meets the frame is structural. Wire-brush it and apply a rust-inhibiting primer, or call us to assess whether the metal is still sound.
- Check wood gates for splitting. A hairline split near a hinge screw will only widen. Back out the screw, fill the split with wood filler or epoxy, and reset the fastener. If the wood is spongy, the section needs replacing.
- Clear debris from the gate path. Leaves, dirt, and gravel build up along the bottom track of a slide gate or the swing path of a swing gate. Clear them so the gate never has to push through anything.
Most manual gate failures we see in Lakewood are hinge-related. A gate that weighs two hundred pounds hanging on two or three hinges puts enormous stress on a small surface area. Checking those hinges monthly costs you five minutes and prevents a sagging gate that scrapes the driveway.
Residential Electric Gate Maintenance Checklist
An electric gate adds a motor, a control board, safety sensors, and a power supply to everything on the manual checklist. These components are designed to live outdoors in Southern California weather, but they still need attention. The good news is that most residential electric gate problems announce themselves early, as a slower-than-normal opening, a hesitation, or a safety edge that trips for no reason. Catching those signals early is what this checklist is for.
- Test the safety edges and photo eyes every month. Open the gate, then place an object in the gate’s path as it closes. The gate should stop and reverse immediately. If it pushes against the object even briefly, the safety circuit is failing and needs repair now. This is a safety issue, not a convenience issue.
- Watch and listen to the operator during a full cycle. A properly functioning operator hums steadily. Grinding, clicking, or a motor that labors means something is binding or the motor is wearing. A BFT or Linear operator should run smoothly through its entire travel.
- Check the operator mounting bolts. The operator is bolted to a pad or post. Vibration works those bolts loose over time. A loose operator can break an arm, strip a gear, or tear free entirely.
- Inspect the wiring where it enters the operator housing. Look for cracked insulation, exposed copper, or wires that have been chewed by rodents. Lakewood has its share of squirrels and rats, and they enjoy nesting in warm operator housings.
- Verify the manual release works. Every electric operator has a release mechanism for power outages. Pull it and confirm the gate can be opened by hand. If you have never tested yours, you may find it seized when you actually need it.
- Check the battery backup if you have one. See the battery backup testing protocol below. This is the most commonly neglected component on a residential electric gate.
- Look at the control board through its housing window if one exists. Moisture, insect activity, and burnt components are sometimes visible without opening the enclosure. If the housing is sealed, leave it closed and have a technician inspect it.
If any of these checks turns up a problem, don’t wait. An electric gate that works intermittently is an electric gate that will fail completely, and usually when you are late for work or trying to get home after dark.
Commercial Access System Maintenance Checklist
Commercial gate systems in Lakewood, serving apartment buildings, office complexes, and industrial lots, run far more cycles per day than a residential gate. A residential gate might open four or six times in a day. A commercial slide gate at an apartment complex might open four hundred times. That usage level changes what wears out and how fast. It also means the consequences of failure are higher: tenants blocked out, delivery trucks stuck, and security gaps at a controlled access point.
For managed properties, this checklist should be completed by someone on staff weekly, with a deeper technician inspection quarterly:
- Test loop detectors daily or weekly. Vehicular loop detectors under the pavement sense a car waiting at the gate. If a vehicle has to roll back and forward to trigger the gate, the loop sensitivity or the loop itself is failing. This is one of the most common commercial gate failures we diagnose.
- Run the gate through ten full cycles and count anomalies. A hesitation, a reversal, a grinding sound, or an operator that overheats and shuts down temporarily. Any anomaly is a data point. Repeated anomalies are a failure in progress.
- Check the physical gate panels and wheels weekly. Commercial slide gates ride on steel wheels in a track. Wheels wear flat, bearings seize, and tracks fill with debris. A commercial gate that jumps its track can fall, and a falling slide gate is a serious hazard.
- Inspect the chain or belt tension on chain-drive systems. A loose chain slaps and wears the sprocket. An overtightened chain destroys bearings. Either condition shortens the life of a Viking or LiftMaster commercial operator by years. Chain tension should be checked by someone who knows the spec.
- Verify all safety devices, including the reversing edge and photo eyes, weekly. Commercial gates are bigger and heavier, and the safety devices are not optional. OSHA and local code enforcement expect them to work every time.
- Check the access control hardware: keypads, card readers, intercoms. A gate operator that works perfectly is useless if tenants can’t trigger it. Clean keypad contacts, verify card reader response, and listen for static or cutouts on intercom lines.
- Keep a log. This is the thing almost no one does and every commercial gate technician wishes property managers did. A simple notebook with date, time, and observation makes diagnosing intermittent problems dramatically faster.
Commercial gate maintenance in Lakewood is not optional upkeep. It is security infrastructure. A gate that fails open is a liability. A gate that fails closed traps tenants and blocks fire access. A structured checklist run consistently is the cheapest insurance a property owner can buy.
The Three Lubrication Points That Matter on a Chain-Drive Slide Gate
Lubrication is the most misunderstood maintenance task on any gate. Too little lubrication causes wear. Too much, or the wrong product in the wrong place, causes its own problems. On a chain-drive slide gate, there are exactly three places that need lubrication, and two places where grease causes damage.
The three points that need lubrication:
- The drive chain itself. Use a dry chain lubricant or a light oil designed for chains. The goal is to lubricate the inside of the links where they pivot, not to coat the outside where dust and dirt will stick. In Lakewood’s dry climate, dust is the enemy. A wet, greasy chain becomes a grinding paste within weeks.
- The gate wheels and their bearings. The wheels that carry the gate along the track need periodic bearing grease. This is the one place on a slide gate where heavy grease is appropriate. The load is extreme, and the bearings are sealed. Grease them through the zerk fitting if present.
- The track itself. A light film of dry lubricant on the track reduces friction and wheel wear. Use a silicone or graphite-based product. The track should feel slick, not oily.
The two places where grease causes damage:
- Never grease the operator’s internal gears unless the manufacturer specifies it. Many modern operators from Ghost Controls and other brands use sealed gearboxes or plastic gears designed to run dry. Grease attracts dust, increases drag, and can break down the plastic. This is the warranty-voiding mistake mentioned earlier.
- Never grease the chain guard or any plastic chain guides. Grease will soften and degrade some plastics. It also holds grit against the chain, accelerating sprocket wear.
Lubrication is a precision task, not a spray-everything task. If you are unsure what product to use, call us at (866) 925-0168 and ask. We work on what you already have, and we are happy to tell you the correct lubricant for your specific operator.
How to Inspect a Control Board for Moisture Intrusion
Control boards are the brains of an electric gate, and moisture is their most common killer. In Lakewood, the dry climate helps, but sprinkler overspray, rain, and condensation inside a sealed housing still cause failures. The goal of inspection is to spot moisture damage early, before a corroded trace or a shorted relay leaves the gate dead.
Step one: do not open the housing if you are not comfortable doing so. A control board enclosure may contain live voltage. If the housing has a clear window, use it. If it doesn’t, follow these steps with the power off:
- Turn off power at the breaker or disconnect. Verify the operator cannot run. Tag the breaker if others might turn it back on.
- Remove the housing cover carefully. Watch for water that may pour out. If water is present, that’s your diagnosis: even a small amount inside a sealed box condenses and causes corrosion over time.
- Look for white or green corrosion on the board, terminals, and connectors. This is the classic sign of moisture intrusion. Even if the gate still works, corrosion is progressive. It will fail.
- Check the gasket around the housing cover. A cracked, brittle, or misaligned gasket lets moisture in. UV exposure hardens gaskets over a few Southern California summers.
- Check for ant or spider activity. Ants are drawn to the warmth of electronics and will short circuit boards with their bodies. Spiders create webs that hold moisture against components.
- Verify the weep hole, if present, is clear. Many outdoor housings have a small drain hole at the bottom. If it is plugged with dirt, water collects inside.
If you see corrosion on your control board, do not scrape it or attempt to clean it with household products. Board-level repair requires the right solvents and often a replacement board. A technician can often replace a Linear or BFT board the same day and have your gate running again.
Battery Backup Testing Protocol
Battery backup on an electric gate has one job: open or close the gate when the power is out. Most Lakewood homeowners assume theirs works until the power goes out and the gate stays exactly where it is. Batteries age, terminals corrode, and the backup circuit can fail silently. Testing takes fifteen minutes and should be done twice a year.
- Locate the battery backup unit. It is usually a box near the operator or mounted inside the operator housing. It may be labeled with the operator brand, such as LiftMaster or Mighty Mule, or have battery symbols on the housing.
- Check the battery’s age. Look for a date code on the battery itself. Most gate backup batteries last three to five years in Lakewood’s heat. If the battery is older than that, plan to replace it even if it tests okay.
- Check the terminals for corrosion. White or blue powder on the terminals indicates corrosion. Clean it with a wire brush and a baking soda solution if you are comfortable doing so, or have a technician handle it.
- Test under load. Cut power to the operator at the breaker while the gate is closed. Now try to open the gate using the keypad or remote. The gate should open at reduced speed. If it doesn’t move at all, the battery or the backup circuit has failed.
- Test the close direction too. Some systems will open on battery but not close, or vice versa. Test both.
- Restore power and note the gate’s behavior. The operator should return to normal operation immediately. Any errors on the keypad display, if your system has one, should be investigated.
A failed battery backup is easy to ignore because it doesn’t affect daily operation. But the reason you bought a backup was for the exception, not the routine. Test it twice a year, and if it fails, a new battery is a quick fix compared to being locked out of your own driveway in Lakewood during an outage.
Maintenance Frequency Table: Monthly, Quarterly, and Annual Tasks
Calendar time is a rough guide, but the real driver of maintenance frequency is usage. A gate that cycles ten times a day wears differently than one that cycles fifty. Use this table as a starting point, and increase frequency if your gate sees heavy use. This structure is directly relevant to gate repair prevention in Lakewood.
- Monthly: visual inspection of hinges, wheels, and latch; test safety edges and photo eyes; clear debris from the gate path; listen to the operator during a full cycle; check for rodent damage or nesting activity.
- Quarterly: tighten all fasteners; lubricate the chain, wheels, and track on slide gates; inspect the control board area for moisture or corrosion; test the manual release; verify loop detector sensitivity on commercial gates.
- Annually: battery backup load test; full electrical inspection by a technician; replace worn wheels or hinges; repaint or seal wood gates; re-aim photo eyes; deep-clean the operator housing; assess post alignment and gate level.
For most residential Lakewood gates, the monthly checklist takes less than ten minutes and the quarterly tasks take under half an hour. For commercial properties, the weekly and monthly cadence is appropriate. An electric gate repair that costs a few hundred dollars today is cheaper than a full operator replacement next year.
Common Mistakes to Avoid
- Lubricating the operator’s internal gears with grease. This is the quickest way to void a warranty and destroy a gearbox. Unless the manufacturer’s documentation explicitly says to grease internal gears, don’t. Ask us if you’re unsure.
- Ignoring a gate that moves slowly. A slow gate is a gate telling you something is wrong. It might be low voltage, a worn capacitor, or a binding hinge. None of those self-correct.
- Failing to test the battery backup. Everyone remembers the backup exists during a power outage. Testing it before the outage is the whole point of having it.
- Using WD-40 on your gate hinges or chain. WD-40 is a water-displacing solvent, not a lubricant. It washes out the existing lubrication and leaves the metal dry. Use a proper hinge lube or chain lubricant.
- Adjusting safety sensors yourself without understanding the system. Photo eyes and safety edges are calibrated to stop and reverse the gate within a specific distance. Misadjusting them can leave the gate dangerous or inoperable. This is a job for someone who understands the operator.
- Letting landscaping grow around the gate operator. Shrubs and hedges block airflow, hold moisture against the housing, and provide a highway for ants. Keep at least a foot of clear space around the operator.
- Trying to straighten a bent gate panel with a hammer and a two-by-four. Metal has memory. Straightening a panel cold usually weakens it and throws the gate out of balance. A bent panel on a commercial slide gate should be inspected for structural safety before any repair is attempted. Heavy slide gates that come off their track can crush someone.
When to Call a Professional
Some maintenance tasks are yours. Some belong to a technician. Call us when the gate is off its track, when the operator makes a sound you’ve never heard before, when safety sensors fail a test, when the control board shows signs of moisture or corrosion, or when the gate moves erratically. Any of these means a component is failing, and guessing wrong often costs more than the service call would have. We work exclusively on gates: manual and electric, residential and commercial, across every major brand including BFT, Linear, Viking, and Ghost Controls. If you’re in Lakewood and something on this checklist turned up a problem, Waverly Gate Repair offers free estimates. Call (866) 925-0168. We answer 24/7. Fast dispatch from 7am to 7pm, Sunday through Friday.
Frequently Asked Questions
A basic monthly check covering hinges, wheels, safety sensors, and the operator’s sound is right for most residential gates in Lakewood. Deeper tasks like lubrication, fastener tightening, and control board inspection should be done quarterly, with a full annual inspection including a battery backup load test. Gates in commercial use need attention weekly. Call (866) 925-0168 if your monthly check turns up anything unusual.
On a chain-drive slide gate, lubricate the drive chain with a dry chain lubricant, the wheel bearings with bearing grease, and the track with a dry silicone or graphite product. Never grease the operator’s internal gears unless the manufacturer says to, and never grease the chain guard or plastic chain guides. If you are not sure what applies to your specific operator, call us and ask.
The battery is likely dead, the terminals are corroded, or the backup circuit has failed. Batteries in Lakewood’s heat typically last three to five years. Test the backup by cutting power at the breaker and attempting to open the gate. If it doesn’t move, the backup needs service. We can test and replace backup batteries the same day in most cases.
We don’t recommend it. Control boards contain live voltage, and cleaning a corroded board with household products often damages it further. If you see corrosion or moisture inside the housing, turn off the power and call a technician. A professional can often repair or replace a board from BFT, Linear, Viking, or another brand the same day.
Place an object in the gate’s path while it’s closing. The gate should stop and reverse immediately. If it pushes against the object even briefly, the safety circuit is failing. Test this monthly. A failing safety edge on a heavy gate is a serious hazard, especially on commercial slide gates in Lakewood.
The estimate is free. When you call (866) 925-0168, we assess your gate and provide a written estimate for any work needed before it begins. The final price is set per job by that written estimate, agreed to before we start. Never pay for gate work without a written price in hand.
The Bottom Line
A gate maintenance checklist is only as good as its fit to the gate you actually own. A manual swing gate needs hinge and latch care. A residential electric gate needs operator and safety sensor checks. A commercial slide gate needs loop detector and track attention. The frequency of your checks should follow your usage volume, not just the calendar. Ten minutes a month prevents most failures, and the tasks you skip are the ones that cause the most expensive repairs. If your checklist turns up a problem, or you would rather have a specialist handle the whole thing, Waverly Gate Repair works on gates and gates only. Call (866) 925-0168 for a free estimate. We answer 24/7. Fast dispatch from 7am to 7pm, Sunday through Friday.
Written by the team at Waverly Gate Repair, serving Lakewood since 2013.
See the difference
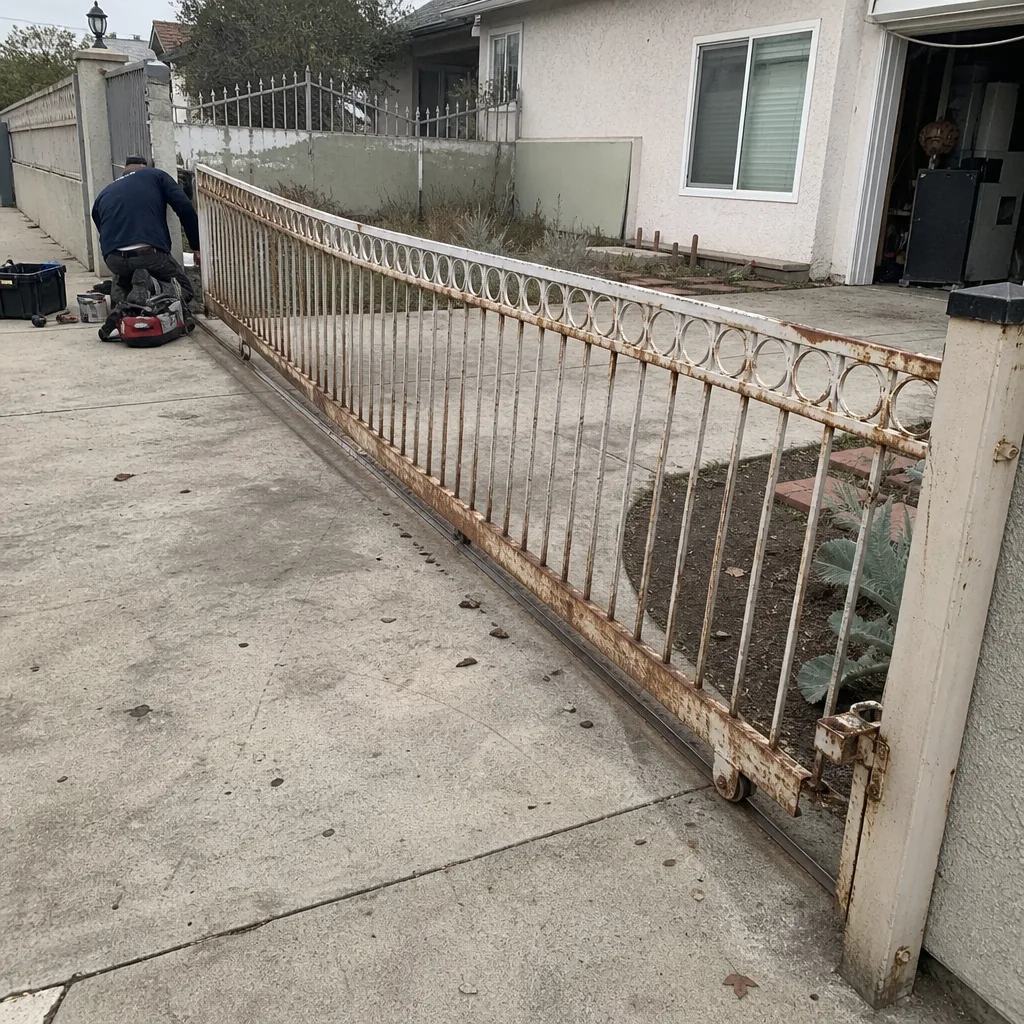 Before
 After
 Before
 After
 Before
 After